Process
How to Build a Large Handmade Figure Without Making It Unstable
Large handmade figures stay manageable when the structure is planned before the surface: build the load path, keep weight low, reinforce joints, and test the finished object in stages.

By Sophie Harrow
· 12 min read
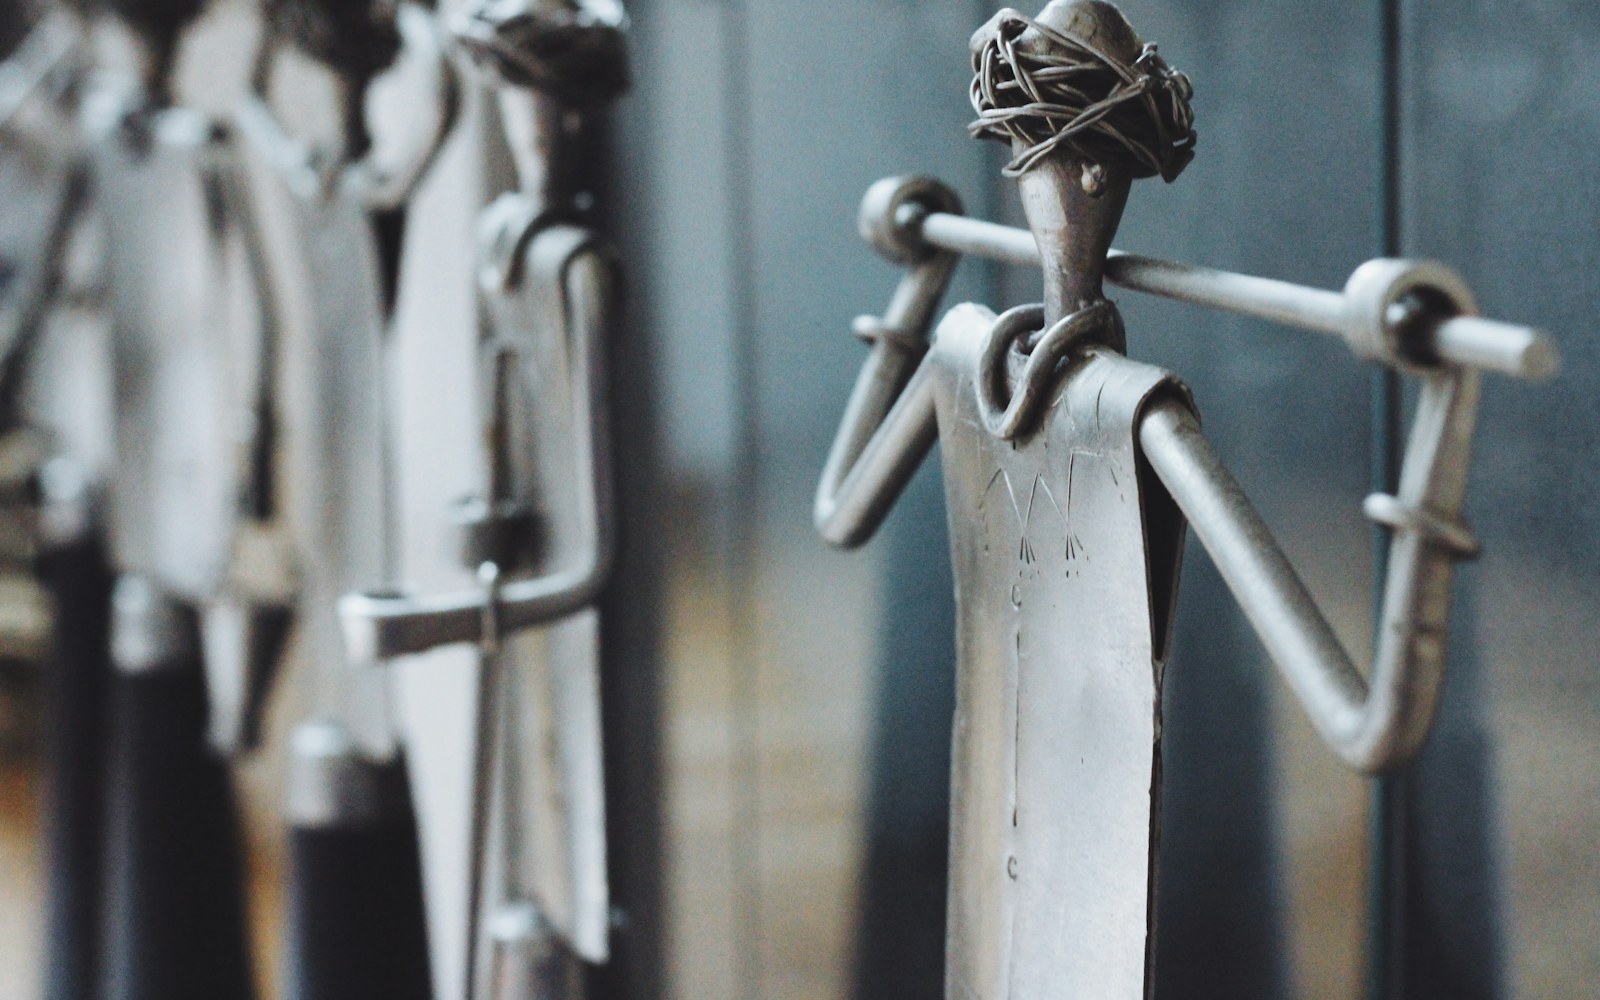
A large handmade doll or creature figure can become heavy, top-heavy, awkward to move, or unexpectedly weak when cardboard, foam, fabric, clay, wood, and hardware are added without a structural plan. The reliable starting point is not the surface. It is the load path: a clear route for weight to travel from the head, torso, limbs, and accessories through the armature and into the base or floor.
A stable large figure usually combines a low centre of gravity, a suitable footprint, reinforced joints, and materials assigned to the jobs they can actually perform. Foam may create volume without adding much mass, but it should not automatically be expected to carry a heavy head. Fabric can conceal an armature, but it cannot replace one. Cardboard can be useful for mock-ups and enclosed forms, while wood, PVC, or metal may be needed where loads concentrate.
The right construction depends on scale, geometry, materials, attachment methods, environment, and handling. The following process is a way to make those decisions visible before the figure is closed, painted, or dressed.
Start with the stability plan
Before cutting material, define what the figure must do. Record its approximate height, width, depth, intended mass, posture, footprint, and use. A freestanding display figure has different requirements from a wearable costume piece, a figure that must be carried through doorways, or an object that will be moved repeatedly between venues.
Answer these questions first:
- Will the figure stand permanently, or will it be assembled and dismantled?
- Must it be lifted by one person, several people, or equipment?
- Will it be worn, touched by visitors, placed overhead, or used around children or the public?
- Does it need to pass through doors, stairwells, lifts, or a vehicle?
- Which parts are likely to be dense: the head, feet, torso, props, shoes, or internal ballast?
- Which sections need to be removable for transport, repair, wiring, or access?
Make a full-scale outline on paper, card, or a wall if possible. A small model can also reveal the general posture, but it will not reproduce every structural problem at a larger scale. A mock-up should show the footprint, major joints, large masses, and likely support points. Mark where the figure touches the ground and where a hidden support might enter the body.
Estimate mass by component rather than relying on a single overall guess. List the base, spine, joints, head, limbs, surface layers, hardware, coatings, wiring, and any removable accessories. These estimates do not need to be exact to be useful. Their purpose is to identify which parts could shift the centre of gravity upward or away from the base.
Choose an armature by load and handling needs
No single armature material is best for every large figure. A hybrid structure is often more practical: wood or metal at the base and primary supports, PVC or timber for lighter framework, foam for volume, and fabric or clay for the exterior.
| Material | Useful role | Important limitations |
|---|---|---|
| Cardboard | Mock-ups, enclosed volumes, lightweight panels, templates | Sensitive to moisture, crushing, edge damage, and repeated loading; performance depends heavily on thickness, grain, folds, and joints |
| Foam | Lightweight body volume, padding, shaping, insulation-like layers | Usually a shaping material rather than a load-bearing structure; can compress, tear, deform, or react poorly to heat and solvents |
| PVC | Hollow framework, repeated tubular forms, light internal supports | Can flex at long spans and depends on well-fitting joints and suitable attachment methods; temperature and geometry affect behaviour |
| Wood | Bases, platforms, beams, blocks, and concentrated attachment points | Adds weight; can split, loosen around fasteners, or move with moisture; joints need deliberate design |
| Wire | Small supports, contour control, fingers, antennae, and light appendages | Thin wire can bend or fatigue; it should not automatically be treated as adequate for large load-bearing spans |
| Metal or rebar | High-demand frameworks, anchored supports, and substantial internal members | Requires appropriate tools, joint design, handling precautions, and awareness of corrosion, weight, and anchoring; professional fabrication may be necessary |
Cardboard is valuable early in the process because it is inexpensive, quick to alter, and useful for testing proportions. It can also form lightweight enclosed shapes when protected from moisture and supported against crushing. Do not let a cardboard shell become the only support for a dense head, long limb, or repeatedly handled joint unless its construction has been specifically designed and assessed for that use.
Foam separates structure from volume particularly well. It can build a large silhouette without filling the entire figure with dense material. Keep the foam around, rather than in place of, the structural members. If a joint must resist bending or pulling, carry that force through a spine, tube, beam, plate, or other appropriate support.
PVC can make a clean, relatively light framework for hollow bodies and repeated tubular forms. Its suitability depends on span length, diameter, joint fit, bracing, temperature, and how loads are attached. A long unsupported PVC member may flex even when the assembled figure looks rigid at first.
Wood is often useful where hardware needs a solid purchase: a base plate, a shoulder block, a foot, a central spine, or a hidden platform. Pre-drill where appropriate, avoid splitting near edges, and consider how fasteners will be reached after the surface is added. Wood can increase stability through mass, but that mass also makes lifting and transport more demanding.
Wire is excellent for small contours and light appendages. Larger figures may need thicker members, sleeves, bracing, or a different material altogether. Metal and rebar can support demanding frameworks, but they introduce substantial weight and require decisions about cutting, welding or mechanical connections, anchoring, sharp edges, corrosion, and safe handling. If the structure will support people, hang overhead, be used in public, or involve significant lifting, seek advice from a qualified fabricator or engineer rather than improvising a metal frame.
Build the load path before adding volume
Think of the internal structure as a route. Weight from the head should travel into the neck and torso rather than pulling against a thin surface. Weight from a raised limb should return through the shoulder or hip and into the spine or base. The base must then transfer those forces into the floor without rocking, twisting, or tipping.
Keep dense components low and close to the central support wherever the design allows. A heavy head at the end of a long neck, a large prop held away from the body, or a broad raised limb can move the centre of gravity beyond the footprint. When that cannot be avoided, enlarge the base, add a concealed support, alter the pose, or redesign the internal structure. Do not depend on a last-minute loose counterweight that can shift during movement.
The base should suit the pose rather than merely match the outline of the feet. A narrow base may work for a compact, upright figure but become inadequate when the torso leans, an arm extends, or a tail creates a side load. A broader platform, a low internal plinth, or a concealed floor attachment may provide a more reliable solution. The appropriate design depends on the floor, the figure’s geometry, and the expected handling; there is no universal base size.
Reinforce major joints before covering them. Depending on the materials, useful methods may include cross-bracing, gussets, sleeves, plates, blocks, multiple attachment points, or a short structural member that bridges a joint. A joint that relies on a single screw, a small glue surface, or thin foam may rotate or pull out even when it looks secure from the outside.
Separate cosmetic volume from structural members. Leave room for fasteners, tools, wiring, and the movement of materials as they expand, compress, or flex. A beautiful surface that prevents access to a critical joint creates a maintenance problem. Plan removable panels, fabric seams, magnetic or mechanically fastened covers where suitable, or openings hidden by costume details. Adhesives alone are not interchangeable: the surfaces, flexibility, curing conditions, and product instructions all matter.
Assemble in stages and protect vulnerable materials
Build the structure in an order that lets you inspect and correct it:
- Construct and check the base or platform.
- Add the central spine, major beams, or primary frame.
- Attach the hips, shoulders, neck, and other high-load joints.
- Add secondary supports and cross-bracing.
- Check the standing position before adding large volumes.
- Add foam, cardboard, fabric, clay, or other surface layers in controlled stages.
- Install removable sections, wiring, and accessories only after the main structure has been checked.
- Finish, then repeat the stability and handling tests.
This sequence keeps structural decisions separate from cosmetic ones. If the figure starts to lean, it is easier to identify whether the problem is in the base, spine, joint, or surface layer before everything is sealed together.
Apply expanding foams, epoxies, coatings, and other curing products according to their labels and safety data. Allow each material to cure as directed before enclosing it or applying a load. Curing behaviour varies with product, thickness, temperature, humidity, ventilation, and substrate. Do not invent a curing schedule from appearance alone.
Protect cardboard, untreated wood, foam, and fabric from the conditions they will encounter. Moisture can weaken or distort some materials; heat can soften, shrink, deform, or accelerate unwanted movement; abrasion can wear through skins and seams; compression can permanently mark foam and crush lightweight board. These protections reduce risk but do not create a permanent conservation guarantee. Store the figure in a stable, dry environment appropriate to its materials and inspect it after moves or environmental changes.
Cover or isolate sharp wire, cut PVC, metal edges, screws, bolts, and other protruding hardware. Check the inside as well as the outside, especially if the figure will be worn, carried, or accessed during installation. Use ventilation for spray products, solvents, coatings, and curing materials. Keep ignition sources away from flammable products and follow the product’s handling, storage, and disposal instructions.
Test stability, movement, and access before finishing
A figure that stands still is not necessarily safe to carry or move. Test different conditions separately and keep the first tests controlled. Place the structure on the intended type of floor, inspect its contact points, and look for rocking, base deformation, joint flex, or a gradual lean.
Begin with a static stability check. With removable parts installed as they will be for display, observe whether the figure remains upright without an improvised support. Do not push aggressively or create a test that could injure someone if the object falls. If a gentle, planned handling test is required, use the number of people and lifting points intended for the real move.
Check practical access as well as balance. Measure doors, turns, stairs, lifts, vehicle openings, and storage positions. Confirm where hands can be placed without crushing foam, pulling fabric, or loading a decorative appendage. Decide whether sections need labels, handles, protective wrapping, or a two-person lift. A stable base does not make an oversized figure safe to carry alone.
After every test, inspect the structure for cracks, loose fasteners, pulled fabric, crushed foam, displaced ballast, adhesive failure, bent wire, or movement at a joint. Repeat the checks after surface finishing because paint, clay, trim, hardware, and accessories can change the centre of gravity and total mass.
Stop and redesign if the figure visibly bends at a load-bearing joint, tips during ordinary planned handling, rocks on its base, requires a loose counterweight to stand, or cannot be safely supported while being assembled. Redesign may mean changing the pose, widening the base, moving a dense component, adding a brace, separating the figure into sections, or consulting a specialist.
Finish with a maintenance and safety plan
Document the structure while it is still visible. Photograph the armature before closing it and record:
- the materials used in each structural section;
- the estimated or measured total weight;
- fastener types and locations;
- removable panels and detachable sections;
- safe lifting points and sections that must not be used as handles;
- wiring routes and access points;
- the assembly and disassembly sequence;
- the storage position and inspection points.
Label detachable components so the figure can be reassembled without forcing the wrong joint or loading a fragile surface. Transport structural sections separately when possible, and protect corners, feet, protruding limbs, and painted or fabric-covered areas from compression and abrasion.
Inspect the figure after transport, impact, unusual humidity or heat, and prolonged display. Look for small changes before they become large ones: a widening seam, a loose screw, a tilted base, a soft spot in foam, or a new gap around a joint. Maintenance is risk reduction, not a guarantee that materials will remain unchanged.
Costume-scale, public-facing, overhead, climbable, electrically powered, or unusually heavy figures deserve a higher level of planning. Obtain advice from a qualified fabricator, engineer, venue technician, electrician, or other relevant professional when the figure will support a person, hang above people, be accessible to the public, require substantial lifting, include unfamiliar electrical or structural loads, or exceed your tools and experience. Do not treat a display armature as automatically suitable for wear, suspension, human support, or public use.
Common mistakes and a quick checklist
The most common mistake is beginning with surface materials and attempting to solve structure afterward. Other warning signs include a base that only matches the feet rather than the pose, dense parts placed high, joints hidden before they are tested, incompatible adhesives, unsupported long spans, and no plan for transport.
Before finishing, ask:
- Have I defined whether the figure is for display, movement, wear, public access, or another use?
- Have I estimated the mass of the base, armature, surfaces, hardware, and accessories?
- Do I know where the centre of gravity is likely to sit?
- Can I trace a clear load path from every major mass to the floor?
- Is the footprint suitable for the pose and intended floor?
- Are the major joints braced and attached through appropriate materials?
- Can I reach fasteners, wiring, and repair points?
- Have I separated structural members from cosmetic volume?
- Have I protected materials from moisture, heat, abrasion, and compression appropriate to the setting?
- Have I tested static stability and gentle planned movement before finishing?
- Have I repeated the tests after finishing and after transport?
- Are lifting points, detachable sections, weight, materials, and maintenance needs documented?
- Do I need professional fabrication, engineering, venue, electrical, or safety advice?
The central principle is simple: make the structure carry the figure, not the surface. When the load path, centre of gravity, base, access points, and handling plan are resolved early, cardboard, foam, fabric, clay, wood, PVC, wire, and metal can each contribute without being asked to do the same job. That planning is what lets a large handmade figure remain expressive, repairable, and manageable rather than merely upright on the day it is completed.