Process
How to Build a Strong Armature for a Large Papier-Mâché Art Doll
A large papier-mâché figure needs more than a paper shell: it needs a continuous, tested skeleton that carries weight before the surface is added.

By Sophie Harrow
· 11 min read
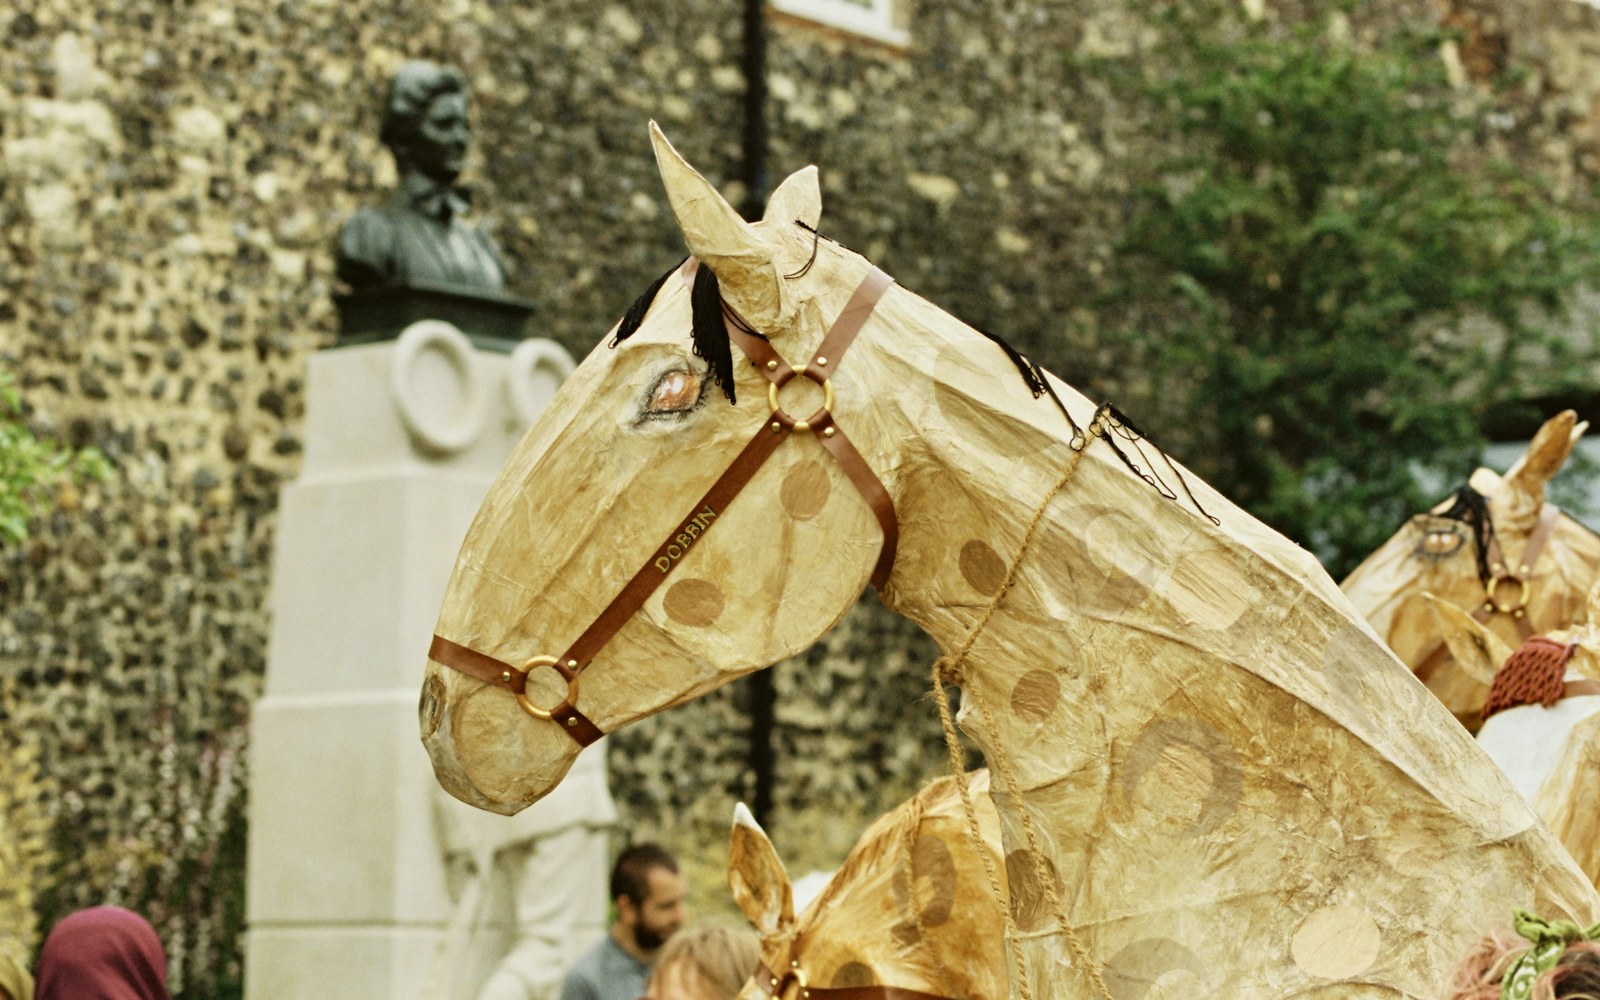
Large handmade figures can become heavy, flexible, or distorted when their internal structure is improvised from cardboard and paper alone. The practical answer is to design a lightweight, continuous skeleton first: a structure that transfers the figure’s weight through the torso, hips or base, and any dedicated support before the papier-mâché surface is applied.
A strong papier-mâché art doll armature is not necessarily made from one material. It is usually a combination of supports, each chosen for a particular job. Cardboard can form broad ribs and webs; wire can define contours and connect smaller parts; foam can build volume; and paper can refine the surface. None should be assumed to carry every load at every scale. The pose, dimensions, adhesive, humidity, drying conditions, and handling requirements all affect performance.
Start with a load-bearing plan, not the paper surface
Before cutting material, decide what the figure must do. Record its intended height and width, pose, orientation, and approximate weight. Note whether it will stand independently, hang from a point, remain attached to a plinth, or be carried regularly. A figure intended for occasional display can be planned differently from one that will be moved often or installed in a public setting.
Make simple front and side drawings. They do not need to be polished; their purpose is to show the structure beneath the silhouette. Mark:
- a central spine or torso support;
- the head and neck connection;
- the shoulder and pelvis structures;
- the major joints;
- the feet, base, or hanging point;
- large overhangs and projecting features;
- openings that will need internal rims; and
- access points for adjustment, drying, and repair.
Think of the drawing as a load map. The base, hips, torso, neck, joints, and any large forward-projecting form are likely to experience more stress than a shallow surface detail. A head that extends beyond the chest, for example, creates a different demand from a head centred directly over the torso. A long tail, raised arm, or broad ear may need its own brace rather than relying on the paper shell.
The continuous path of support matters. Weight should have a route from the head, limbs, and torso to the base or hanging point. If a section ends in a single unsupported flap, a thin strip, or a glued butt joint, it may flex before the surrounding paper has a chance to help.
Choose materials by the job they must do
Material selection becomes clearer when structural support is separated from volume-building and surface finishing.
| Material | Useful structural role | Main limitation to consider |
|---|---|---|
| Cardboard | Ribs, flat webs, torso plates, broad internal shapes | Edges can soften, buckle, or delaminate when wet; single layers can twist |
| Wire | Contours, narrow supports, connections, adjustable shapes | Thin or unsupported wire can flex and may not hold a large paper shell |
| Foam | Volume, padding, transitions, and lightweight bulk | Foam is not automatically a load-bearing member and may compress or deform |
| Layered paper | Surface refinement, small transitions, and local reinforcement | Heavy layers can add moisture and weight without correcting a weak skeleton |
| Recycled materials | Components such as tubes, cartons, rods, and packaging webs | Stiffness, cleanliness, moisture tolerance, and adhesive compatibility vary |
Cardboard ribs and webs
A cardboard doll armature is useful when the figure contains broad planes or a recognisable side profile. Cut repeated ribs from the front, side, or cross-sectional drawings, then join them with strips or webs so the form is supported in more than one direction. A single flat layer may define a silhouette, but it can still fold or twist. Cross-bracing is what turns separate profiles into a more coherent frame.
Protect exposed edges before they meet the paper surface. Folded tabs, wrapped paper, additional strips, or narrow braces can distribute stress and reduce the chance that an edge will puncture the outer layers. Cardboard also responds to moisture, so avoid treating it as unaffected by wet adhesive or damp paper.
Wire
Wire is valuable for adjustable contours, small limbs, fingers, ears, tails, and connections between parts. It can also help establish a pose before rigid elements are added. For a large papier-mâché sculpture, however, a thin wire outline may remain too flexible to support a projecting form or a heavy paper build-up.
Use wire with a clear path into the main skeleton. Secure it by twisting, tying, wrapping, overlapping, or passing it through a reinforced opening rather than depending on a small amount of glue at the end. Cover sharp ends and inspect them again after every structural change.
Foam
Foam is generally best understood as a volume-building material unless it is integrated with a more reliable support. It can make a torso fuller, soften a transition, or reduce the amount of paper needed to establish a rounded form. It may compress under pressure, shed particles, react differently to adhesives, or deform when handled, depending on its type and construction.
Use foam around a planned skeleton, not as a substitute for one in areas that must carry the head, limbs, or base. A foam shape can look solid while offering little resistance to bending or twisting.
Layered paper and recycled materials
Paper layers are excellent for refining contours and closing small gaps, but adding more paper is not a dependable way to repair a weak armature. A thick shell can make a figure heavier while leaving the underlying connection flexible.
Recycled materials can be effective parts of an armature when they are clean, dry, sufficiently stiff, and compatible with the adhesive and surface treatment. Packaging board, tubes, folded cartons, and other offcuts may each have a useful role. Check for crushed areas, loose laminations, old moisture damage, coatings that resist adhesive, and edges that could telegraph through the surface. Reuse is most successful when material choice follows the structural plan rather than replacing it.
Build the primary skeleton and test its balance
Begin with the central spine or torso frame. Make it substantial enough for the intended scale, but avoid adding bulk without a structural reason. Attach the pelvis, shoulder structure, and major ribs according to the drawing. Then add limbs and other forms in a sequence that lets you check alignment as you go.
Mechanical connections should do the first work. Use overlaps, tabs, folded flanges, ties, twists, slots, or cross-braces before relying on glue and paper. Adhesive can bond surfaces, but it should not be the only thing preventing a joint from pulling apart when the figure is moved.
Keep the centre of gravity over the base where possible. A broad foot structure, internal base plate, or separate stand may be necessary if the pose is top-heavy or deliberately off-balance. A stand is not a failure of the armature; it is a practical way to give an expressive pose a controlled support path.
Leave access openings while the interior is still reachable. These may allow you to insert a brace, adjust a wire, remove a temporary support, or improve ventilation. Photograph the unfinished structure and make a simple note of hidden braces and attachment points. Once the shell is closed, this record can make diagnosis and repair easier.
Test before adding volume
Handle the unfinished frame gently from several points. Look for:
- wobble at the base;
- twisting through the torso;
- sagging limbs or projecting forms;
- movement where the head meets the neck;
- bending at the hips and shoulders;
- joints that open when lightly pulled; and
- changes in balance when the figure is placed in its intended orientation.
Do not interpret a test as a precise load rating. It is a practical construction check. If the armature moves more than intended under gentle handling, reinforce it before adding paper. It is much easier to fix a visible connection than to reach one through a sealed shell.
Reinforce predictable weak points
Some areas deserve attention in nearly every large figure because they combine leverage, weight, or thin material.
Neck and head
The neck carries the head’s weight and may also experience force when the figure is lifted or repositioned. Reinforce the neck-to-torso connection with an overlapping frame, a wrapped support, or a brace that reaches into the torso. If the head projects forward, add a support that follows the direction of the projection instead of relying on a narrow vertical connection.
If the head will be removable, design the attachment deliberately. A removable component needs a repeatable connection that does not crush the surrounding paper or loosen through handling. Document its orientation and any hidden support before closing the shell.
Hips, shoulders, and joints
Hips and shoulders transfer movement between the torso and limbs. Double material where appropriate, wrap connections, and use cross-bracing when a joint must hold a fixed pose. Elbows, knees, and ankles are especially vulnerable when long limbs act as levers. A decorative joint line is not necessarily a structural joint; keep the actual support continuous behind the surface.
Openings and undersides
Mouths, eye sockets, large cut-outs, and deep undersides can weaken a form by removing material from a broad surface. Give openings a rim or internal frame. This keeps the surrounding shell from collapsing inward and provides an edge to which paper can be attached.
Pay attention to undersides that will be visible or handled. A broad lower surface can bow if it is supported only at its perimeter. Add a shallow internal web or brace where needed, while leaving enough space for drying and inspection.
Projecting features
Horns, noses, ears, fingers, tails, and similar forms should have dedicated supports when they extend far from the main body or are likely to be touched. A wire, cardboard tongue, tube, or other internal member can run into the torso or a nearby rib. Build volume around that support rather than asking unsupported paper to act as a beam.
Round or cover sharp corners and wire ends. They can puncture paper layers, create visible stress lines, or become hazards during later handling.
Apply the papier-mâché without trapping weaknesses
Once the structure passes its preliminary inspection, add the surface in stages. Work over one area, allow it to become sufficiently firm for the next step, and continue checking for movement. Staged construction makes it easier to identify whether a change comes from the frame, the paper, or excess moisture.
Use enough adhesive to bond the strips without saturating the armature. Excess adhesive and water can soften cardboard, increase weight, lengthen drying, and make a layered area difficult to assess. The appropriate mixture and paper choice depend on the materials and method, so observe the form rather than following a rigid quantity or drying promise.
Avoid sealing damp material inside a closed shell. Enclosed spaces, deep folds, and thickly layered areas need a route for moisture and air to escape. Keep access openings available where possible, and pause if the structure feels soft, buckles under light pressure, or remains wet beneath a surface that appears dry.
Do not use a heavy paper build-up to compensate for a weak armature. If the form shifts, stop and reinforce the skeleton or its connections. Surface layers should refine a sound frame, not conceal a structural problem.
Final inspection and handling limits
Before applying the final surface, repeat the balance and movement checks. Place the figure in its intended orientation and inspect the base, hanging point, neck, joints, openings, projecting features, and any removable parts. If the figure will be carried or installed, rehearse that process with the unfinished or partly finished object while the supports remain accessible.
Separate decorative parts from load-bearing ones in your notes. Mark areas that should not be used as handles and identify temporary supports that must remain until the work is fully stable. A large handmade figure may be lightweight yet still vulnerable to bending, impact, humidity, or repeated handling.
Keep a record of hidden materials, attachment points, adhesives, and access openings. This documentation does not guarantee long-term durability, but it can help distinguish a surface repair from a failed internal connection. If an enclosed joint fails after sealing, repair may require opening the shell rather than simply adding another paper strip over the damage.
Armature inspection checklist
Before finishing, ask:
- Does the base or hanging point carry the weight without rocking or pulling out?
- Is the spine or main support straight enough for the intended pose?
- Are the head, limbs, joints, openings, and projecting features independently supported?
- Can the structure resist gentle bending and twisting before the paper shell is added?
- Are cardboard edges protected and wire ends covered or secured?
- Is there enough access for drying, adjustment, and repair?
- Are enclosed areas ventilated, with no damp material trapped inside?
- Has the unfinished figure been tested in its final position?
- Have hidden braces and attachment points been documented?
- Are any parts clearly marked as decorative or unsuitable for lifting?
Common mistakes and practical limits
The most common error is relying on a single flat cardboard layer for a tall or projecting form. Add depth through ribs, webs, folds, or braces instead of simply making the outer paper shell thicker.
Another is using a flexible wire outline where a rigid support is needed. Wire can be useful, but its diameter, temper, length, anchoring, and surrounding materials affect how much movement remains. When a form must stay fixed, connect the wire to a stronger frame or combine it with a rib or web.
Adding heavy paper before testing the frame creates unnecessary weight and hides the problem. Closing the shell too early has a similar cost: a weak joint and trapped moisture become harder to reach. Adhesive alone is also a poor substitute for overlap, tying, bracing, or another mechanical connection.
Finally, do not confuse lightweight with indestructible. Cardboard, paper, wire, foam, and adhesive respond differently to moisture, temperature, storage, scale, and handling. A figure designed for careful display may not withstand frequent carrying, and a stronger base may be necessary even when the upper armature is sound. Treat the inspection as a reasoned construction check, not a guarantee of conservation-grade durability.