Process
How to Choose and Secure Wire Armatures for Art Doll Wings
Choose wire by load, scale, body material, and movement—not appearance alone—and test every attachment before covering the armature.

By Sophie Harrow
· 10 min read
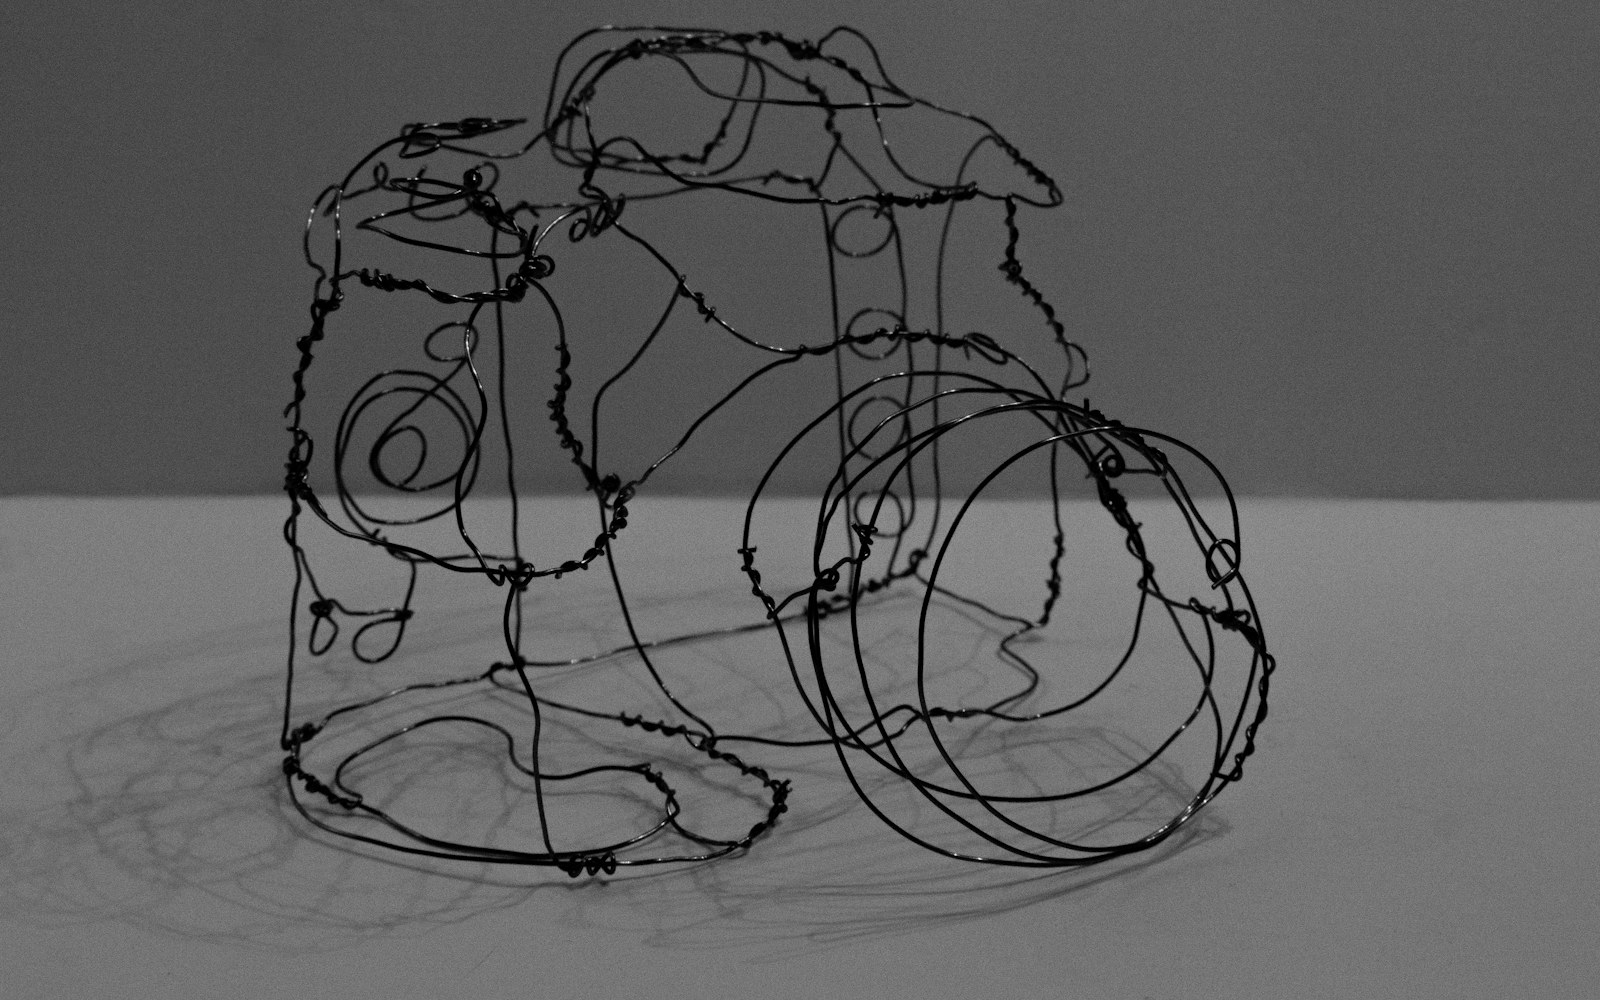
A lightweight wing can still place considerable leverage on a small figure. If the wire is too soft, the wing droops or twists; if the attachment is too narrow, the root loosens; if an end is left exposed, it may migrate through cloth, clay, wood, or paper and damage the object. The practical answer is to choose the thinnest sculpture armature wire that remains rigid under the finished part’s weight and planned handling, then secure it at more than one protected point before adding clay, fabric, or paper.
A good wire armature for art doll wings is therefore a construction decision, not simply a choice of gauge. Assess the support required, whether the part must move, and what the body can safely hold. The same logic applies to wire wings for figures, as well as lightweight ears, tails, and limbs.
Start with the load and movement requirement
Begin with the finished silhouette and handling plan. A broad wing with a thin covering may be light but exert leverage because its mass sits away from the body. A smaller wing with clay, layered paper, wire edging, or dense textile may place more load on the root than its appearance suggests.
Ask three questions:
- How much support does the part need to hold its shape?
- Will it remain fixed, or must it be adjusted?
- Can the body material accept and distribute the load?
The wire should resist sagging across the unsupported span without creating a visibly heavy edge. It should also fit the planned covering: a narrow textile channel, thin clay shell, or paper layer may not have room for a bulky armature. Make a full-scale drawing before buying or cutting wire so that span, covering thickness, attachment points, and clearance can be considered together.
Choose a fixed or poseable armature
Fixed and poseable construction solve different problems. Fixed wire wings are generally the safer choice for delicate, display-oriented figures. Once shaped and secured, they are less likely to loosen a root or abrade a fragile surface during ordinary handling. Poseable wire wings permit limited adjustment, but they require stronger attachment points, protected finishes, and a clear handling limit.
| Construction | Useful when | Main limitation |
|---|---|---|
| Fixed | The figure is delicate, the wing is thin, or the intended pose is known | Later adjustment may require opening the covering or joint |
| Poseable | The body is robust and occasional repositioning is important | Repeated bending may loosen or fatigue the wire and damage finishes |
Poseability is not unlimited movement. Every bend concentrates stress, particularly where wire changes direction, exits a root, or is repeatedly adjusted in the same place. A finish may crack, fray, crease, or rub before the wire itself visibly fails. Use a poseable construction only when the body, covering, and attachment can tolerate occasional, small adjustments.
If the wing will rarely be moved, fix the position. If the figure has a fragile surface, a narrow root, or an attachment that cannot be inspected later, avoid building movement into the part merely because it is technically possible.
Select wire by diameter, stiffness, material, and finish
Diameter and stiffness
Do not select a universal gauge for every art doll armature. Wire behavior depends on diameter, material, temper, unsupported span, covering weight, figure scale, and the shape of the wire path. Gauge labels and stiffness descriptions can also vary by wire type and supplier.
A thinner wire may produce a cleaner silhouette and be easier to shape, but it can sag under a broad covering or lose its form at the first bend. A thicker or stiffer wire may hold a span better, yet be difficult to curve neatly or place excessive stress on a small attachment. The goal is not maximum rigidity. It is sufficient support with a manageable bend and an attachment the body can tolerate.
Cut a trial length from the actual wire you intend to use. Shape it to the full-scale wing plan and hold it at the proposed root. Check the unsupported span, bend retention, visible bulk, and the effort needed to make controlled curves. Compare the wire after adding a temporary mock covering. This simple test is more useful than relying on a gauge number alone.
Material and surface finish
Consider whether the wire is intended for sculpture, textile work, or another use, and inspect its surface. A smooth finish is easier to cover and less likely to catch fabric or paper. A finish that resists corrosion may be preferable in environments where moisture is a concern, but exact behavior depends on the wire, coverings, adhesives, and storage conditions.
Check compatibility with the surrounding materials before committing. Adhesives may grip some surfaces better than others; clay may cure or behave differently around a particular wire; fabric bindings can shift if the surface is too smooth; and moisture-sensitive materials may need separation. Where materials are uncertain, use a small concealed test rather than assuming that a connection will remain stable.
Plan bends, loops, joins, and protected ends
Draw the wire path at full scale. Include the centreline or outer contour, the root, every bend, the intended covering thickness, and the distance from the body surface. This drawing helps prevent a common mistake: designing a beautiful wing shape first and discovering that the wire cannot enter the body without a sharp kink or an exposed end.
Prefer broad, controlled bends over abrupt angles. A sharp kink can become a stress point, and repeated re-bending can weaken or distort the wire. Shape the wire gradually with suitable hand tools, allowing enough radius for the covering to pass over it without creating a ridge.
Loops, wrapped joins, or paired wire sections can distribute load when a single strand would twist. Keep joins outside visible thin edges where possible, and make sure they cannot rotate inside a narrow channel. A paired structure is useful only if both strands remain aligned and the attachment receives their combined load.
Every exposed end needs a deliberate treatment. Depending on the materials and scale, it may be blunt-cut, capped, wrapped with binding, enclosed in tubing, embedded in clay, or placed inside a planned socket. The barrier must be secure enough that handling cannot push the wire through it. Do not assume that a layer of cloth, paper, or soft clay will permanently stop a sharp end from migrating.
Before final finishing, run a fingertip carefully along the planned covering and inspect the root from several angles. Any point that can catch, pierce, scrape, or press against the figure needs to be reshaped or isolated.
Attach the armature to different bodies
The strongest attachment is not always the most invisible one. Prioritise a broad, serviceable joint over a concealed connection that concentrates all the load in one small puncture.
Cloth
For a cloth body, distribute the load through a stitched channel, backing fabric, internal binding, or another broad support. A single wire piercing can enlarge with handling, especially when the wing pulls away from the body. Reinforce the area before inserting the armature, and keep the wire from rubbing directly against the outer textile where possible.
A channel can hold the wire in position while allowing the textile to provide a softer transition at the root. If the wing is poseable, inspect the channel after each adjustment rather than assuming that the stitches will accommodate repeated movement.
Clay
With clay, plan the socket or embedded section before the material cures. Embed the wire deeply enough for the scale and construction, while leaving enough surrounding material to support it. The appropriate depth depends on the clay, the body thickness, the wire, and the load; there is no universal measurement.
Avoid forcing wire into a cured surface unless a planned hole or reinforced socket is available. That can chip the surface, create a hidden crack, or leave a loose connection. If the body is thin, consider an internal support or a separate connector rather than relying on a shallow insertion.
Wood
For wood, drill or form a controlled hole sized for the planned connection. Work carefully around the grain, since an oversized, angled, or poorly placed hole may weaken the surrounding area or encourage splitting. A sleeve, plug, or other connector may be appropriate when the wire itself does not provide enough bearing surface.
Secure the wire without forcing it into the wood. The final method depends on the wood, wire, adhesive, hole, and environment, so test the connection on a spare piece when possible.
Mixed media
Mixed-media bodies often require isolation between materials. A sleeve, barrier, internal binding, or separate connector can reduce problems caused by friction, moisture, adhesive behaviour, or different curing and movement rates. Keep incompatible surfaces from relying on one uncertain bond when a mechanical support can carry the load.
Test balance and failure points before covering
Assemble the bare armature and place the figure in its intended orientation. Check whether the wing droops, twists, rotates at the root, pulls on the torso, or causes the figure to tip. A wing that appears stable in the hand may shift once the figure is standing, hanging, or supported at a different point.
Add temporary weight or a mock covering to approximate the finished part. Paper, scrap fabric, removable tape, or another reversible material can reveal how the extra mass changes balance. Test the figure from several handling angles, not only from the front.
Inspect likely failure points:
- the first bend beyond the root;
- the root attachment and any socket;
- wrapped or joined sections;
- thin wing edges;
- places where wire exits a covering;
- transitions from a rigid section to a flexible one;
- any point that presses against the torso or another part.
If the wing twists or the figure tips, change the wire path or attachment while everything is accessible. Adding more clay, adhesive, or covering may hide the symptom without correcting the underlying leverage. A second support point, a wider internal channel, a gentler bend, or a shorter unsupported span may solve the problem more cleanly.
Finish, handle, and store the figure
Add clay, fabric, paper, or other covering only after the bare armature passes its balance and movement tests. During finishing, keep fasteners and tools from rubbing against the surface, and make sure the covering does not force the wire into a new bend.
For poseable wings, support the body close to the attachment when making an adjustment. Move the wing a small amount and infrequently; do not flex the same joint back and forth to test it. Stop if the root shifts, the covering creases, or a crack, scrape, or new resistance appears.
Store the figure with enough clearance that the wings are not compressed or twisted. Do not use a wing, ear, tail, or limb as a carrying point. Stable support beneath the body is preferable to allowing the appendage to bear the object’s weight. Exact care depends on the materials, construction, condition, environment, and any guidance supplied with the figure.
Final checklist
Before calling the armature complete, confirm that:
- the wire matches the span, covering weight, scale, and handling plan;
- the actual wire has been tested rather than judged by gauge alone;
- the fixed or poseable choice is deliberate;
- bends are controlled and not repeatedly reworked;
- loops, joins, and paired sections cannot rotate unexpectedly;
- every exposed end is blunt, capped, wrapped, sleeved, or securely embedded;
- the wire cannot migrate through the covering;
- the root is supported at more than one protected point where needed;
- the attachment suits the body material;
- the bare armature holds its shape without sagging or twisting;
- temporary weight or mock covering has been tested;
- the figure does not tip or place undue stress on the torso;
- the finished surface will not rub against wire or fasteners;
- storage will prevent compression, abrasion, and unnecessary flexing.
A successful armature is quiet in the finished object: light enough not to distort the silhouette, strong enough to hold the intended pose, and secured so that handling does not transfer all the load to one fragile point. Testing before covering is what makes that balance visible while it can still be corrected.